

When embarking on a marine adventure, ensuring the safety and functionality of your vessel’s electrical system is paramount. One crucial aspect of this system is the proper maintenance of fuses and switches. Marine environments can be harsh, leading to wear and tear that necessitates timely replacements to prevent electrical failures and ensure a smooth journey.
The process of replacing marine fuses and switches requires a clear understanding of the components involved and the potential hazards associated with electrical work on a boat. It’s essential to approach this task with caution, armed with the right knowledge and tools. By following a step-by-step guide, you can effectively replace these critical components while minimizing risks.
In this article, we will outline the necessary precautions, tools, and methods for safely replacing marine fuses and switches. Whether you’re a seasoned sailor or a new boat owner, mastering this skill will not only enhance your boat’s safety but also contribute to a more enjoyable and trouble-free experience on the water.
Identifying the Right Marine Fuse for Your Circuit
When it comes to marine applications, selecting the correct fuse for your circuit is critical to ensure the safety and reliability of your electrical system. Using the wrong fuse can lead to equipment failure or even potential hazards on board. Here are key steps to help you identify the right marine fuse for your needs.
Understand the Circuit Requirements
Start by determining the amperage and voltage requirements of the circuit. Each circuit has specific needs based on the devices connected, and it’s essential to match the fuse rating with these requirements to avoid overloading or under-protecting your system.
Know the Types of Fuses
Marine fuses are available in various types, including blade fuses, glass fuses, and cartridge fuses. Be familiar with the type used in your circuit to ensure compatibility. Blade fuses are common in modern marine systems, while older setups may utilize glass or cartridge fuses.
Choose the Correct Amperage Rating
Select a fuse with an amperage rating that is slightly higher than the maximum current your circuit will draw, but not excessively high. This prevents potential damage to the circuit while still allowing it to function without interruption. A general rule of thumb is to choose a fuse rated for 10-20% above the continuous load current.
Consider Environmental Conditions
Marine environments can be harsh, exposing components to humidity, saltwater, and vibration. This can affect fuse performance and longevity. Ensure that the fuse you select is rated for marine use, providing durability and resistance to these challenging conditions.
Consult Manufacturer Guidelines
Always refer to the manufacturer’s specifications for both the devices connected to the circuit and the fuse itself. This ensures that you are using the recommended fuse type and rating, which is critical for maintaining warranty coverage and ensuring safe operation.
By following these steps, you can confidently identify and select the appropriate marine fuse for your circuit, ensuring optimal performance and safety on the water.
Step-by-Step Guide to Safely Removing and Replacing a Switch
Replacing a switch in a marine environment requires careful attention to safety and proper procedure. Follow these steps to ensure a smooth transition from old to new.
1. Gather Your Tools and Materials
You will need a replacement switch, a screwdriver, wire strippers, a multimeter, and safety gloves. Ensure you have the correct fuse for the new switch to prevent electrical issues.
2. Disconnect Power
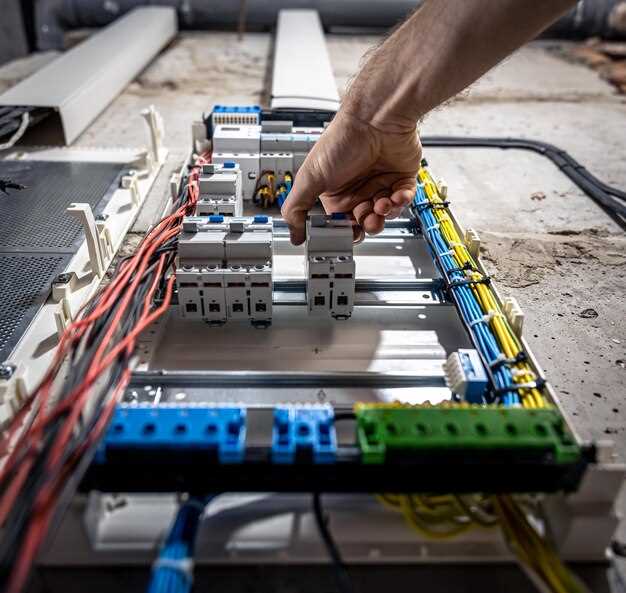
Before starting, locate the main fuse panel and remove the fuse connected to the switch you intend to replace. This ensures that no power is flowing to the circuit.
3. Test for Voltage
Use a multimeter to verify that the power is off. Test the wires leading to the switch to confirm that there is no voltage present. This step is crucial to avoid electrical shocks.
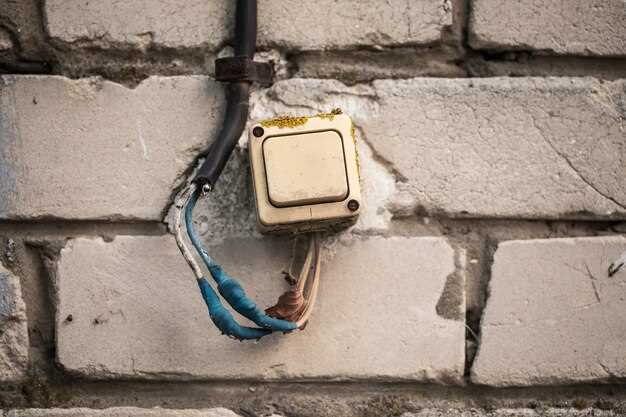
4. Remove the Old Switch
Unscrew the switch cover and gently pull the switch out from its housing. Take note of how the wires are connected. You can also take a picture for reference.
5. Disconnect the Wiring
Carefully detach the wires from the old switch. If the connections are tight, use wire strippers to remove any corrosion or buildup that might be causing resistance.
6. Prepare the New Switch
Before installation, ensure that your new switch matches the specifications required for your marine setup. Connect the wires to the new switch in the same configuration as the old one.
7. Secure the New Switch
Insert the new switch into the housing and fasten it securely using screws. Ensure that it sits firmly in place to avoid movement during operation.
8. Reconnect Power
Replace the fuse that you removed earlier. This will restore power to the circuit. Be cautious, as the switch will now be live.
9. Test the New Switch
Turn on the switch to check its functionality. If everything works correctly, you can finish up by replacing the switch cover.
10. Dispose of Old Components Responsibly
Finally, dispose of the old switch and any other replaced components in accordance with local regulations to maintain safety and environmental standards.
Testing and Troubleshooting After Fuse and Switch Replacement
Once you have replaced the fuse and switch in your marine electrical system, it is crucial to proceed with systematic testing to ensure everything is functioning correctly. Begin by visually inspecting the connections to the new components, ensuring that there are no loose or frayed wires that might cause issues.
Next, restore power to the circuit. Carefully monitor for any unusual signs, such as flickering lights or odd noises, which could indicate issues within the circuit. If the new fuse blows immediately, this suggests a potential short circuit or overload situation elsewhere in the system.
To troubleshoot further, utilize a multimeter to test for continuity and proper voltage levels at various points in the circuit. Start by checking the continuity of the newly installed fuse; a lack of continuity indicates it is still faulty or that there is another underlying issue.
After confirming the fuse is functioning, follow the circuit path to test the voltage at the switch. If the voltage reading is absent, investigate upstream connections for faults or breaks in the cable that might disrupt power flow.
If all readings are normal and the circuit does not operate as expected, you may need to examine any connected devices for failures that could be causing the circuit to malfunction. Disconnect devices one at a time to isolate the problem, ensuring that each component is operating as intended.
By following these testing and troubleshooting steps, you can effectively ensure that your marine electrical system operates safely and reliably after replacing fuses and switches.


