

Boats are designed to navigate through water, but over time, wear and tear can lead to leaks in the hull. These leaks pose a serious risk, potentially compromising the safety and functionality of your vessel. A proper understanding of how to identify, assess, and repair hull leaks is crucial for any boat owner looking to maintain their craft in optimal condition.
In this comprehensive guide, we will walk you through a systematic approach to repairing hull leaks, ensuring that you can tackle this challenge with confidence. From gathering the necessary tools to executing the repair techniques, each step will be explained in detail, allowing both novice and experienced boaters to effectively address hull issues.
Understanding the signs of a leak and knowing how to fix it promptly can save you time and money in the long run. Whether you are preparing your boat for a new season or addressing a recent issue, our step-by-step instructions will equip you with the skills needed to keep your vessel leak-free and seaworthy.
Identifying the Source of Hull Leaks
Identifying the source of hull leaks is crucial for effective repair. Start by examining the hull for visible signs of damage, such as cracks, holes, or structural failures. Pay special attention to areas around fittings, transoms, and seams where materials connect.
Next, conduct a thorough inspection while the boat is in the water. Look for bubbles or streams of water entering the hull, which can indicate a leak. Using a flashlight can help reveal smaller openings that may be difficult to spot in dim light.
Another method is to perform a pressure test. Seal off hatches and ports, then apply water pressure to certain areas of the hull. This approach can help locate leaks that are not easily visible during a standard inspection.
Consider utilizing a moisture meter to assess the integrity of the hull material. Elevated moisture levels can signify areas that are compromised and may require repair. Check for unusual sounds during movement; creaking or groaning can indicate structural weaknesses.
Finally, document all findings and prioritize repairs based on severity. Addressing the leak promptly will ensure the longevity of the hull and the overall safety of the vessel.
Necessary Tools and Materials for Repairing Hull Leaks
Repairing a hull leak on your boat requires specific tools and materials to ensure a successful and lasting fix. Below is a comprehensive list of what you’ll need:
Tools
- Drill: For creating holes to insert screws or plugs.
- Rotary Tool: Ideal for grinding down rough edges or removing old paint.
- Screwdriver Set: Necessary for fastening components together.
- Wrench Set: Useful for tightening bolts on the hull.
- Putty Knife: Essential for applying sealants and fillers evenly.
- Sandpaper or Power Sander: For smoothing surfaces before applying new materials.
- Measuring Tape: To ensure accurate measurements of the affected area.
- Level: To check that surfaces are even and properly aligned.
- Safety Gear: Include gloves and goggles for protection during the repair process.
Materials
- Epoxy Resin: A strong adhesive for bonding the hull materials.
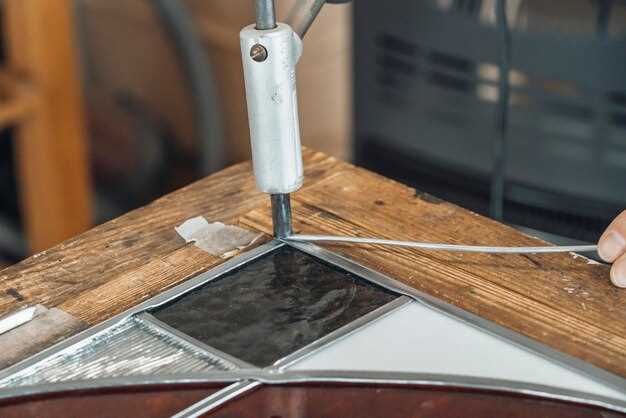
- Fiberglass Cloth: Provides reinforcement when repairing larger holes or cracks.
- Sealant or Caulk: Used to create a waterproof barrier around joints and seams.
- Transom Wood or Marine Plywood: For repairs on wooden boats; necessary for structural integrity.
- Paint or Gel Coat: To finish the repaired area and ensure it blends with the rest of the hull.
- Marine-grade Screws/Bolts: For securing components and ensuring long-lasting results.
Having the right tools and materials is critical for effectively repairing hull leaks. Proper preparation will not only extend the life of your boat but also enhance safety on the water.
Techniques for Sealing and Testing Hull Repairs
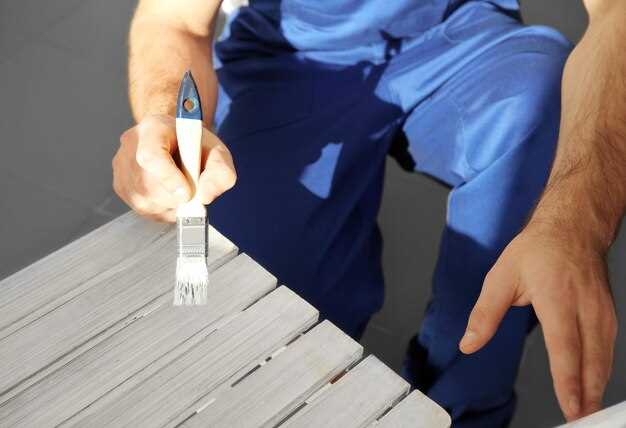
When addressing hull leaks, the sealing technique employed is vital for effective and lasting repairs. One popular method is the application of marine epoxy. This two-part adhesive forms a strong bond and can fill gaps and cracks in the hull material. Ensure the hull surface is clean and dry before applying the epoxy, as proper surface preparation enhances adhesion and prevents future leaks.
Another technique is using polyurethane sealants, which are flexible and waterproof. This type of sealant is ideal for areas subject to movement and vibration, providing a seamless finish that withstands harsh marine environments. Apply the sealant generously to the affected area, ensuring it seeps into any crevices to maximize leak prevention.
For larger hull damages, fiberglass cloth and resin can be employed. Layering fiberglass over the damaged area creates a robust barrier. Once the resin cures, sand the surface for a smooth finish and apply a protective topcoat to maintain the integrity of the repair.
Testing for leaks after repairs is crucial. One effective method is to conduct a water test. Submerge the repaired section and observe for any bubbles, which indicate ongoing leaks. Furthermore, apply pressure to the hull using an air compressor and spray soapy water over the repair area; bubbles will form where air escapes through a leak. This dual testing ensures that all potential leak points have been effectively sealed.
Regular inspections are also essential. After completing repairs, monitor the hull periodically for signs of wear or new leaks, especially after each outing. Taking these proactive measures helps maintain the hull’s integrity and prevents future leak issues.


