

When it comes to maintaining the safety and performance of your boat, bilge pumps are essential components that cannot be overlooked. These devices are specifically designed to remove unwanted water from the bilge area, preventing potential damage and ensuring a more enjoyable time on the water. In this guide, we will delve into the best bilge pumps available on the market, while also providing a comprehensive installation guide to help you set them up effectively.
Proper installation of a bilge pump is crucial for its functionality. A poorly installed pump may not operate efficiently, which can lead to serious issues such as flooding or equipment failure. Throughout this article, we will highlight key factors to consider during the installation process, including pump selection, placement, and wiring. With this knowledge, you will be better equipped to make informed decisions and secure your vessel’s safety.
Furthermore, our reviews will compare various bilge pumps, examining their features, performance, and user feedback. We will cover a range of options suitable for different types of vessels, ensuring that you find the right pump that meets your specific requirements. Whether you are a seasoned boater or a newcomer, our guide aims to provide valuable insights to enhance your boating experience.
Choosing the Right Bilge Pump for Your Vessel
When selecting a bilge pump for your vessel, it is essential to consider various factors that will impact both the pump’s effectiveness and its installation. The first step is to assess the size and type of your boat. Larger vessels may require multiple pumps or high-capacity models, while smaller boats often suffice with standard pumps.
Flow Rate is a critical aspect of bilge pump performance. This rate, measured in gallons per hour (GPH), indicates how quickly the pump can remove water from the bilge. For most recreational boats, a pump with a flow rate between 1,500 to 3,000 GPH is adequate. However, ensure that it aligns with your vessel’s specific requirements, particularly if it encounters heavy rain or rough seas.
Power Source also plays a crucial role in selection. Bilge pumps can be powered by 12V or 24V systems. For most small to medium vessels, a 12V pump is typically sufficient. Additionally, consider whether you prefer a manual or automatic pump. Automatic pumps activate when water reaches a certain level, providing ease of use, while manual pumps require user intervention.
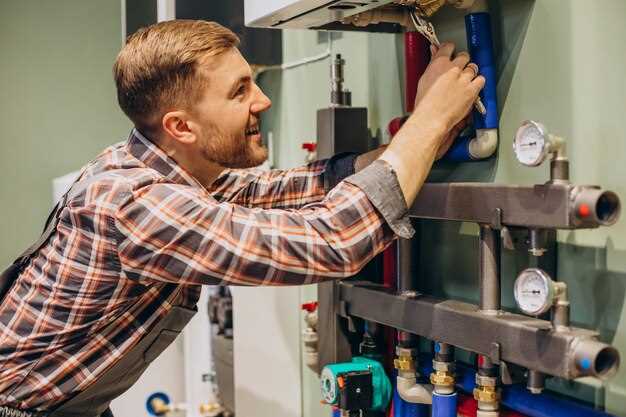
The installation process is another vital consideration. Choose a pump that will fit seamlessly within your vessel’s bilge area. Pay attention to the pump’s dimensions and the space available. Proper installation ensures that the pump functions efficiently and reduces the risk of malfunctions. Be sure to use quality hoses and fittings to prevent leaks.
Finally, reliability cannot be overstated. Opt for pumps that have been well-reviewed and proven to withstand harsh marine environments. Investing in a reputable brand will often ensure better longevity and functionality.
Taking the time to evaluate these factors will help you choose the right bilge pump that meets the particular needs of your vessel, ensuring safety and peace of mind while on the water.
Step-by-Step Installation Process for Bilge Pumps

Installing a bilge pump is essential for maintaining a dry and safe environment in your boat. Follow these steps to ensure a successful installation.
Step 1: Gather Necessary Tools and Materials
Before starting the installation, collect all required tools such as a drill, screwdriver, wire cutters, spanners, and a sealant. Additionally, have the bilge pump, a discharge hose, clamps, and wiring ready.
Step 2: Choose the Installation Location
Select a proper location for the bilge pump, ideally at the lowest point in the bilge area. Ensure there is enough space to fit the pump and all necessary components while also considering accessibility for maintenance.
Step 3: Mark the Pump Placement
Use a marker to outline the pump’s base on the surface. Ensure the pump is placed level to allow proper drainage. Avoid areas near fuel tanks or electrical components to minimize safety risks.
Step 4: Drill Mounting Holes
With the pump positioned, drill holes for the mounting screws. Be cautious while drilling to avoid damaging surrounding structures. Clean any debris from the drilled holes before proceeding.
Step 5: Install the Pump
Position the bilge pump over the drilled holes and secure it using screws or bolts. If required, apply a marine-grade sealant around the base to prevent leaks and ensure a watertight seal.
Step 6: Connect the Discharge Hose
Attach the discharge hose to the pump’s outlet. Ensure the hose is secured with clamps to prevent it from coming loose. Route the hose in a way that avoids kinks or sharp bends, promoting efficient water flow.
Step 7: Wiring the Pump
Carefully connect the electrical wires from the bilge pump to the battery or dedicated circuit. Use marine-grade wiring and connectors to resist corrosion. Ensure that connections are secure and insulated to avoid short circuits.
Step 8: Test the Installation
Before finalizing everything, test the bilge pump operation. Fill the bilge with a small amount of water and turn the pump on. Check the discharge, ensuring water flows smoothly and without obstruction.
Step 9: Final Checks and Maintenance
Once the pump is operational, perform a thorough inspection to ensure all connections are secure and there are no leaks. Schedule regular maintenance checks to keep the bilge pump in optimal condition.
Maintaining and Troubleshooting Your Bilge Pump System
Regular maintenance of your bilge pump system is essential to ensure reliable operation and longevity. Start by inspecting the pump and its components for signs of wear, corrosion, or damage. Clean the pump intake and discharge hoses to prevent blockages that could impair performance. Check all electrical connections to ensure they are secure and free from corrosion, as this can affect the pump’s function.
Test the pump periodically by simulating a real-world scenario, such as adding water to the bilge. Listen for the pump to activate and observe if it properly removes water. This will help identify any potential issues before an emergency arises. Additionally, ensure that the float switch, if equipped, is functioning correctly, as it plays a crucial role in automatic operation.
Troubleshooting a malfunctioning bilge pump begins with examining the power supply. Confirm that the circuit breaker is intact and that the pump is receiving adequate voltage. If the pump does not activate, consider checking the float switch for obstructions or damage. For pumps with a manual override, activating it can also help diagnose the issue. If the pump runs but does not remove water, inspect the intake and discharge for clogs or restrictions.
If after these checks the bilge pump still fails to operate properly, it may be time for a more thorough inspection or pump replacement. Keeping a log of maintenance activities and issues encountered can be beneficial for future reference. Prompt attention to maintenance and troubleshooting will help ensure your bilge pump system operates effectively when you need it most.


