

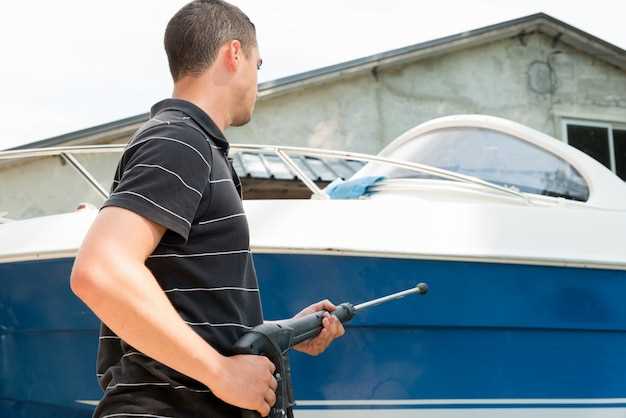
When it comes to enhancing your boating experience, a bimini top plays a crucial role in providing shade and protection from the sun. However, the thought of installing this essential accessory can often feel daunting. Fear not! With the right approach and some handy tips, you can install your bimini top with ease and confidence.
Proper installation is key not only for optimal functionality but also for the longevity of your bimini. This guide is designed to walk you through the process step-by-step, ensuring that you have all the information needed to set up your bimini top securely and effectively. From choosing the right location on your boat to securing the frame, we’ll cover the fundamentals that every DIYer should know.
Armed with the right tools and a bit of guidance, you’ll be able to transform your boat into a more comfortable oasis on the water. Whether you’re a seasoned boater or a first-time DIYer, these tips will make the installation of your bimini top a straightforward task, allowing you to focus on what really matters–enjoying your time on the water.
Choosing the Right Location for Your Bimini Top Installation
When installing a Bimini top, selecting the ideal location is crucial for maximizing shade and functionality. Begin by assessing the area where you plan to mount the top. Ensure there is enough space above the deck to accommodate the height of the Bimini when fully extended. This will help prevent any obstructions, such as railings or equipment, that may interfere with the top’s operation.
Next, evaluate the angles of sunlight throughout the day. Ideally, position your Bimini top in a way that it provides optimal shade during peak sun hours. Consider the prevailing wind direction as well; a well-placed top can offer protection from both sunlight and wind, enhancing your comfort while enjoying outdoor activities.
Check for structural integrity in your chosen location. The mounting points should be strong enough to support the Bimini top securely. Use proper hardware and make sure the base is stable to withstand movement from waves and wind. Properly secured, your top will not only provide shade but will also enhance stability and safety.
Lastly, take into account any surrounding elements such as trees or tall objects. While they can provide additional shade, they may also cause unwanted interference, such as debris falling onto your Bimini. Choose a location that balances shade and accessibility, ensuring that your Bimini top serves its purpose effectively without added complications.
Step-by-Step Guide to Assembling Your Bimini Frame
Assembling your Bimini frame is a straightforward process that can greatly enhance your outdoor experience by providing essential shade. Follow these steps to ensure a smooth assembly.
1. Gather Your Materials: Before you begin, collect all necessary parts, including the frame poles, connecting hardware, and the top fabric. Check that you have a complete set according to the manufacturer’s instructions.
2. Lay Out the Components: Spread out all the components on a flat surface. This will help you identify each piece and avoid confusion during assembly.
3. Identify the Frame Poles: Typically, the Bimini frame consists of two main support poles and several cross poles. Identify these components, as they will form the structure that holds the top.
4. Connect the Base Poles: Start by connecting the two main support poles using the designated connectors. Ensure they are securely fastened, as these will be the foundation of your frame.
5. Add Cross Poles: Next, attach the cross poles between the support poles. These poles provide additional stability to the frame. Make sure that each connection is tight and secure to prevent any wobbling.
6. Position the Frame: Once the frame is fully assembled, position it where you want to install it on your boat or patio. Ensure that it is aligned correctly and that there is sufficient space for the top to extend fully.
7. Mount the Frame: Use the provided mounting hardware to attach the frame securely to the designated locations. Double-check that all screws and bolts are tightened to maintain stability while using the Bimini top.
8. Attach the Bimini Top: Finally, drape the top fabric over the assembled frame. Use the provided straps or fasteners to secure the fabric to the frame, ensuring it is taut and evenly distributed for optimal shade coverage.
Following these steps will help you successfully assemble your Bimini frame, resulting in a sturdy structure that offers the shade you desire during outdoor activities.
Tips for Securing and Tensioning Your Bimini Fabric Properly

To ensure your Bimini top provides optimal shade, proper securing and tensioning of the fabric is essential. Start by positioning the top correctly on the frame, ensuring it is evenly distributed. This will help maintain balance and prevent sagging.
Use adjustable straps or buckles provided with your Bimini kit to tighten the fabric securely. Make sure to check the tension on each side, adjusting as necessary to create even pressure across the top. Avoid over-tightening, as this can cause stress on the seams and lead to premature wear.
After securing, inspect the corners and edges of the fabric to ensure they are anchored firmly. Utilize additional tie-downs if needed to prevent flapping during windy conditions. This also helps the top maintain its shape and effectiveness in providing shade.
Finally, after a thorough installation, regularly check and adjust the tension on your Bimini fabric throughout the season. Changes in weather and temperature can cause the fabric to stretch or loosen. Consistent maintenance ensures that your Bimini top remains a reliable source of shade.


