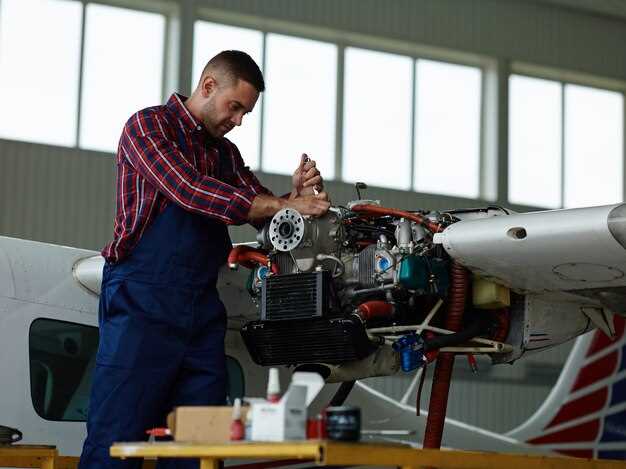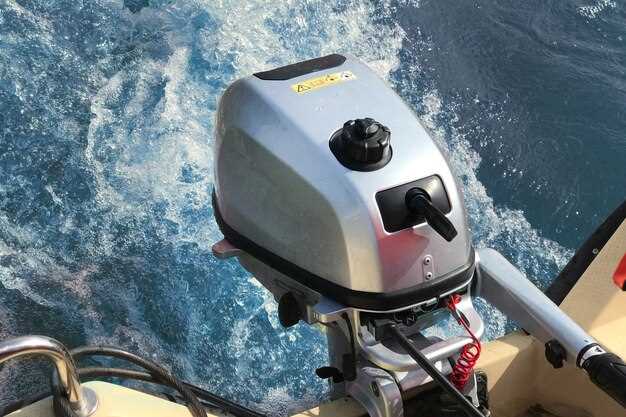
Outboard motors are essential equipment for boat enthusiasts, providing the power needed to navigate lakes, rivers, and seas. Regular maintenance and timely repair of these motors can significantly extend their lifespan and improve performance. This guide offers practical tips for anyone looking to tackle outboard motor repairs and ensure their boat remains in excellent condition.
Understanding the common issues that outboard motors face is the first step in effective maintenance. From fuel system problems to electrical failures, being proactive can save both time and money in the long run. In this article, you will find detailed steps on how to perform routine checks, identify potential problems, and execute straightforward repair tasks.
Additionally, we will cover crucial maintenance practices that can prevent issues before they arise. With the right knowledge and tools, you can confidently take on the responsibility of keeping your outboard motor running smoothly, allowing you to focus on enjoying your time on the water.
Identifying Common Outboard Motor Issues and Their Symptoms
Understanding the common issues that arise with outboard motors is crucial for effective maintenance and repair. Here are some prevalent problems along with their typical symptoms:
1. Motor Won’t Start: This is a frequent issue faced by boat owners. Common symptoms include the absence of clicking sounds when turning the key, non-functioning fuel pumps, or dead batteries. Ensure to check the fuel supply and electrical connections.
2. Overheating: If your outboard motor exhibits signs of overheating, such as steam coming from the cooling system or an increase in exhaust temperature, immediate attention is needed. This can be caused by blocked water intake or a malfunctioning water pump. Always monitor the temperature gauge while operating.
3. Decreased Performance: A noticeable drop in speed or acceleration can indicate issues such as a clogged fuel filter, worn propeller, or improperly adjusted carburetors. Regular performance checks are essential to identify these problems early.
4. Unusual Noises: Any strange sounds, such as grinding or knocking, can signal internal damages or wear and tear within the motor. Listen for these noises during operation and schedule a thorough inspection if they occur.
5. Steering Difficulties: If you experience resistance in the steering mechanism, it could be due to damaged steering cables or issues with the outboard motor’s tilt and trim system. Lubrication and regular maintenance of these components can help prevent this issue.
6. Fuel Leaks: Noticeable fuel odors or wet spots around the motor can indicate leaks. Inspect hoses, connections, and the fuel tank to determine the source and rectify the situation promptly to avoid fire hazards.
By being aware of these common issues and their associated symptoms, you can take proactive steps to ensure your outboard motor remains in optimal condition. Regular maintenance and prompt repairs are key to longevity and performance.
Step-by-Step Process for Winterizing Your Outboard Motor

Winterizing your outboard motor is essential to prevent damage during cold months. Follow these steps to ensure your motor stays in good condition.
Step 1: Clean the Motor – Begin by thoroughly cleaning the exterior of the outboard motor. Use fresh water to rinse off any salt, dirt, or debris. This helps prevent corrosion and ensures the motor remains functional.
Step 2: Change the Engine Oil – Warm up the engine slightly and then change the oil and oil filter. Old oil contains contaminants that can deteriorate engine components, so replacing it will help maintain the motor’s health.
Step 3: Fuel Stabilization – Fill the fuel tank with fresh gasoline and add a fuel stabilizer. Run the engine for about 10 minutes to ensure the stabilizer circulates through the entire fuel system. This step prevents fuel degradation over the winter months.
Step 4: Fogging the Engine – Spray fogging oil into the air intake while the motor is running. This helps protect internal components from rust and corrosion by coating them with a protective layer of oil.
Step 5: Drain the Cooling System – Remove the drain plugs from the cooling system to allow any remaining water to escape. This step is crucial in preventing freeze damage. Reinstall the plugs securely after draining.
Step 6: Disconnect the Battery – Remove the battery from the outboard motor and store it in a warm, dry place. This helps maintain battery health and prevents potential leaks or corrosion during winter.
Step 7: Inspect and Maintain Accessories – Check and clean all accessories such as the propeller, fuel lines, and battery connections. Make necessary repairs or replacements to ensure everything is in good order for the next season.
Step 8: Store the Motor Safely – Finally, store your outboard motor in a dry, cool space, preferably in an upright position. This prevents internal components from settling improperly and keeps the motor protected from potential damages.
By following these tips, you can effectively winterize your outboard motor and ensure its longevity and performance for many seasons to come.
Maintenance Tips for Extending the Lifespan of Your Outboard Motor

Proper maintenance of your outboard motor is crucial for ensuring its longevity and optimal performance. Here are some essential tips to keep your motor in peak condition.
1. Regular Oil Changes: Frequent oil changes are vital for lubrication and engine health. Check the manufacturer’s guidelines for recommended intervals. Using the correct type of oil enhances performance and reduces wear.
2. Fuel System Care: Always use high-quality fuel and consider adding a fuel stabilizer, especially if the motor will sit unused for extended periods. This helps prevent carburetor issues and fuel degradation.
3. Inspect the Propeller: Regularly check the propeller for any signs of damage, such as nicks or bends. A damaged propeller can affect performance and should be repaired or replaced promptly.
4. Clean the Cooling System: Ensure the water intake is clear of debris. Flush the cooling system with fresh water after each use, especially in saltwater environments. This practice helps prevent corrosion and overheating.
5. Battery Maintenance: Keep the battery charged and clean the terminals regularly. Ensure that connections are secure, as a poor connection can lead to starting issues and decreased performance.
6. Inspect Electrical Components: Regularly check wiring, connections, and fuses. Look for signs of wear or corrosion, and replace any parts that show damage to avoid electrical failures.
7. Clean and Protect: Use a soft cloth to clean the exterior and remove any salt or grime. Consider using a protective cover when the motor is not in use to shield it from the elements.
8. Adhere to Scheduled Maintenance: Follow the manufacturer’s maintenance schedule, including periodic inspections and replacements of parts like spark plugs and filters. Staying on schedule helps catch potential issues early.
Implementing these maintenance tips will help extend the lifespan of your outboard motor, keeping it running smoothly for many seasons to come.


